Installing A Doggy Door
A Step-by-Step Guide to Installing Your Own Doggy Door
Introduction
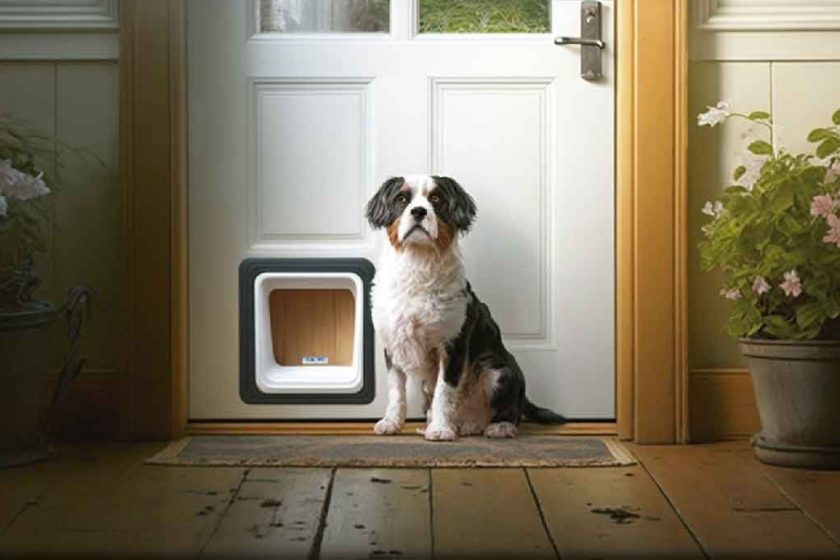
A doggy door can provide your furry friend with the freedom to come and go as they please, without having to rely on you to open the door. While some pet owners prefer to hire a professional to install their doggy door, doing it yourself can be a cost-effective option, especially if you have the right tools.
If you would like a professional team to handle pet door installation, then the good folks at Willoughby Glass just may be able to help you out.
In this article, we will take a look at the web search results [1], [2], and [3] to provide you with a comprehensive guide on how to install a doggy door yourself.
Step-by-Step Guide
Preparation
Before getting started, you will need to gather some tools, including:
- A pencil
- An electric drill with a 1/2-inch drill bit
- A level
- A jigsaw
- A screwdriver
- Measuring tape
Trace the Template
The first step is to trace the pet door template onto the area where you want to place the doggy door using a pencil [1]. This will give you an outline of where the doggy door will go.
Mark Essential Screw Holes
Next, mark any essential screw holes as well as the inside corners of the dog door opening [1]. These markings will serve as a guide for where to drill holes and make cuts.
Drilling Holes
Use an electric drill with a 1/2-inch drill bit to make holes at the center point of each marking [1]. This will make it easier to make the necessary cuts.
Cutting the Opening
Using a jigsaw, start in one corner and cut the opening for the doggy door along the outside of your line [3]. Be sure to follow the markings you made earlier to ensure the proper placement of the doggy door.
Installing the Doggy Door
Test fit the outer frame of the doggy door into the opening by inserting it from the exterior side of the door and adjusting the opening as needed [3]. Then, secure the frame into place using screws